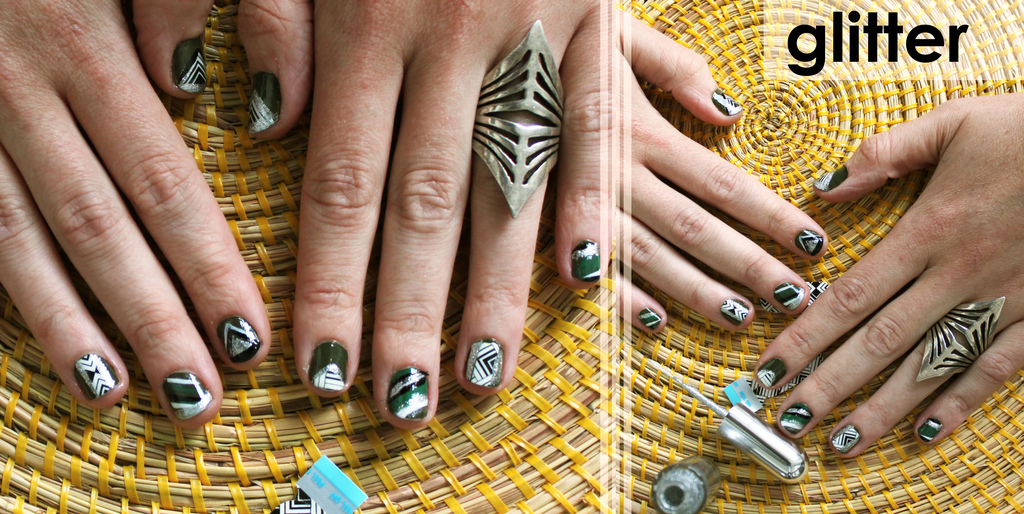
Love the nail art trend you keep seeing everywhere but don’t want to spend money? Don’t worry, it’s easy to replicate with just a few lines of polish!
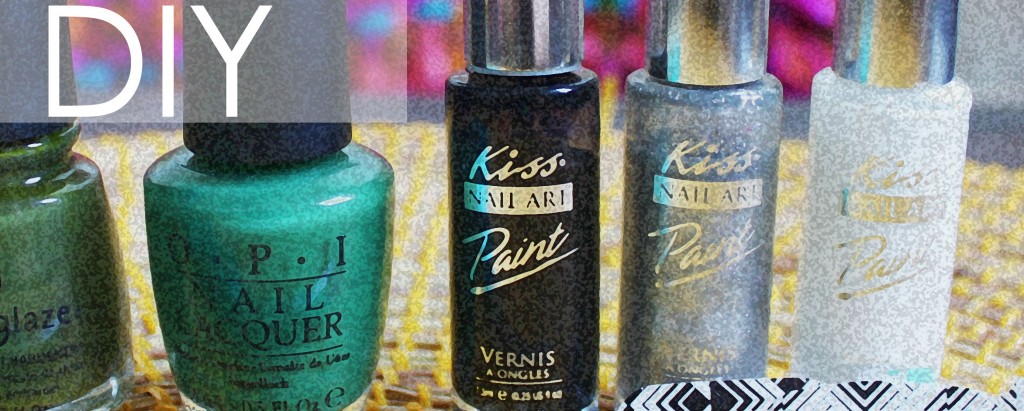
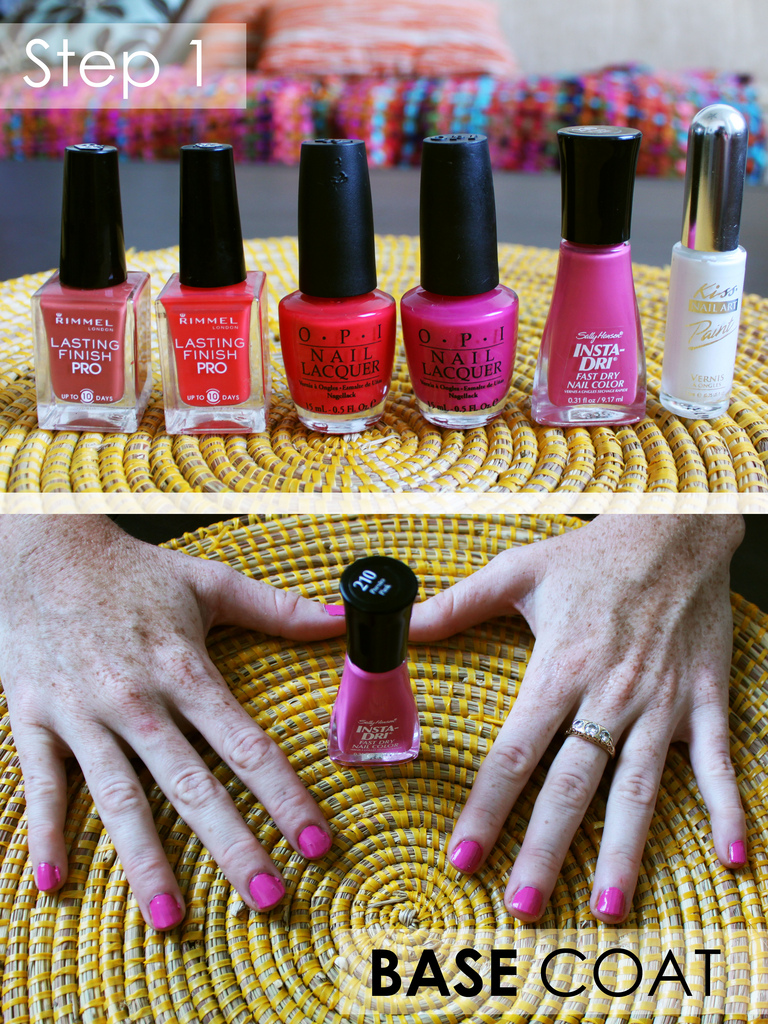
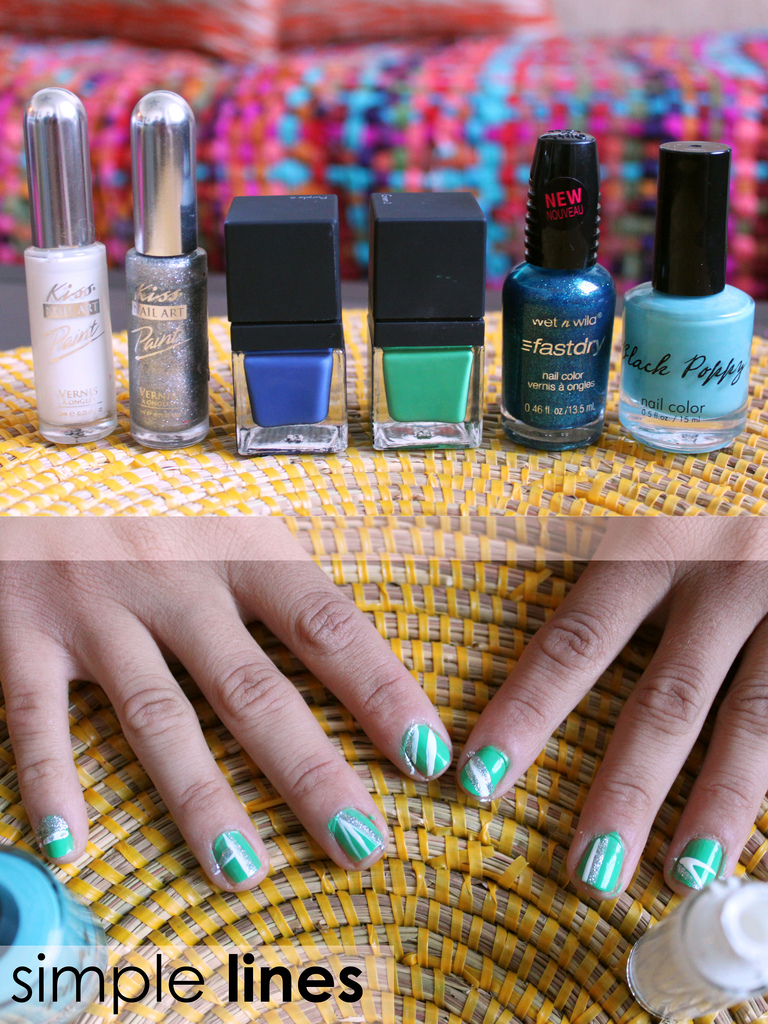
First, you’ll want to choose 4-5 colors — these colors can be a theme or total opposites.
With this design you’ll want to have at least one skinny brush to create thin lines. Cover each nail with a basecoat. We opted to stick to one color for each nail, but you can paint at random or create a pattern.
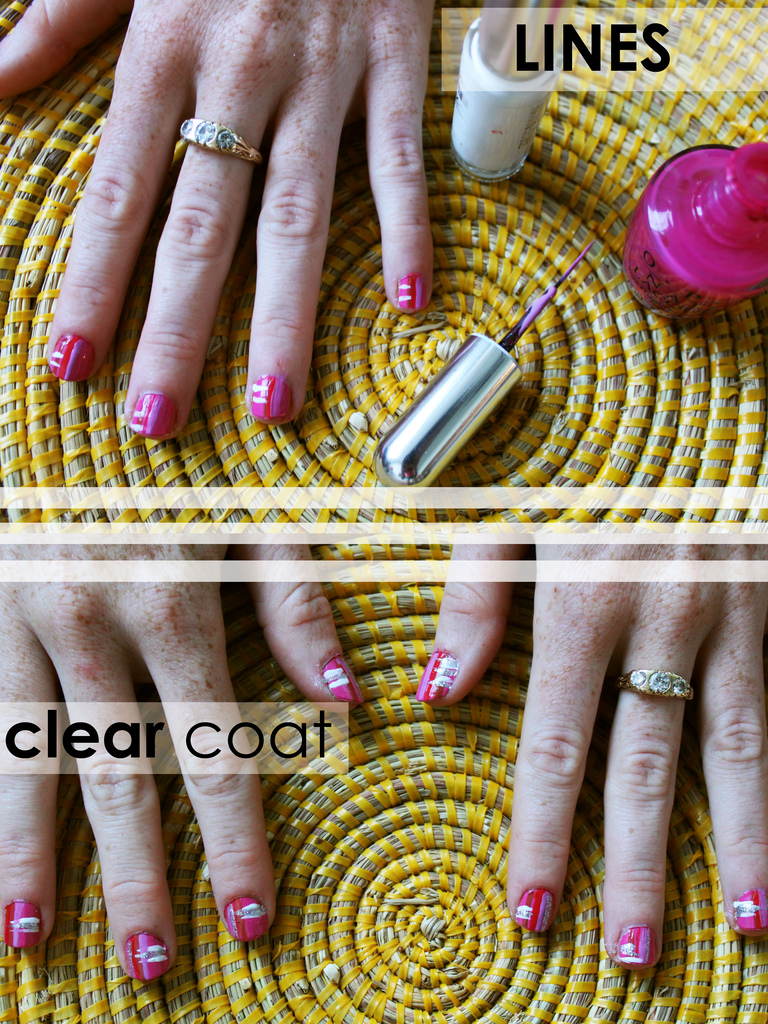
Paint vertical and horizontal lines on each nail working in layers and letting each layer dry in-between painting. Having a glitter in the mix will help cover up any mistakes. Follow through on the lines even if it means painting your skin a little, it’s easy to fix and it will give you a clean brush stroke (A Q-tip and nail polish remover is my personal secret weapon for all mishaps).
Don’t forget the topcoat — it will keep your new manicure looking fresh!
 |
 |
Press-On Sally Hansen
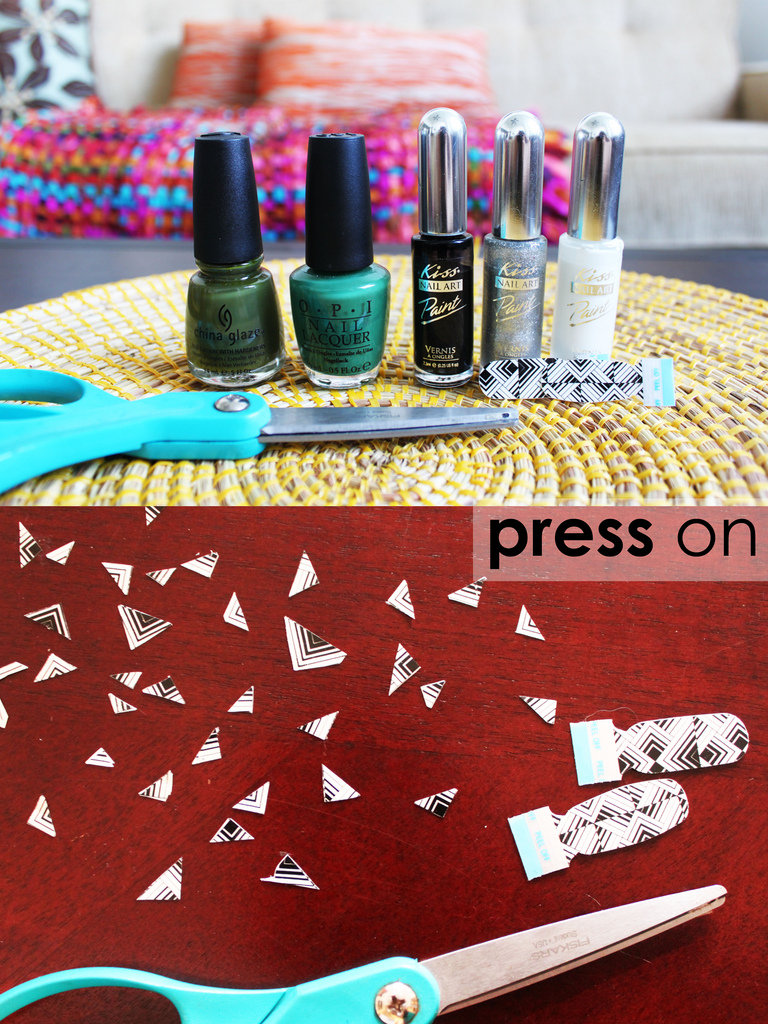
If you want to get a little more fancy, Sally Hansen makes great press on nail polish art that comes in various patterns, glitter, and different textures.
They are available at most drug stores. We cut them into triangles and quickly learned how difficult it is to peel off the clear cover and backing. An easier way would be to peel off the top clear cover THEN cut and peel the backing and place on nail. When you are done cutting, add as much polish art as you want to your nails, trace the shapes with polish or glitter.
Conclude with a clear coat and marvel at your fancy nails! There are endless possibilities when it comes to incorporating the “salon effects” of press on art, I am already eager to try another look!
Thanks to Stephanie and Lisbeth for modeling and helping me out!

