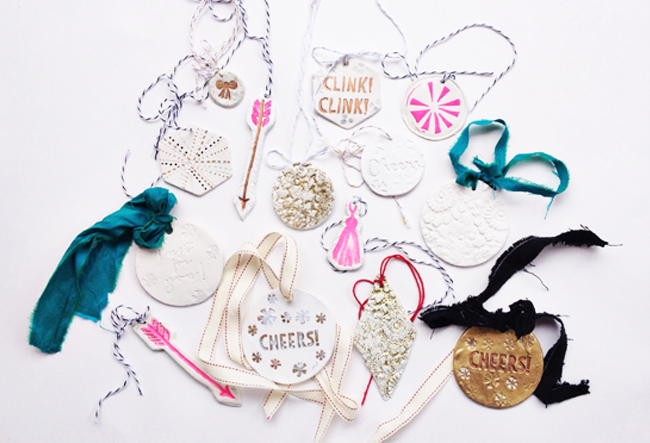
Now that I’ve discovered how easy air-dry clay is to use, I can’t stop thinking of fun projects to try. Now that the holidays are here, I thought a few gift tags and ornaments would be perfect for adding to presents and wine gifts. You need just a few supplies to get started—and there are lots of possibilities for embellishing.
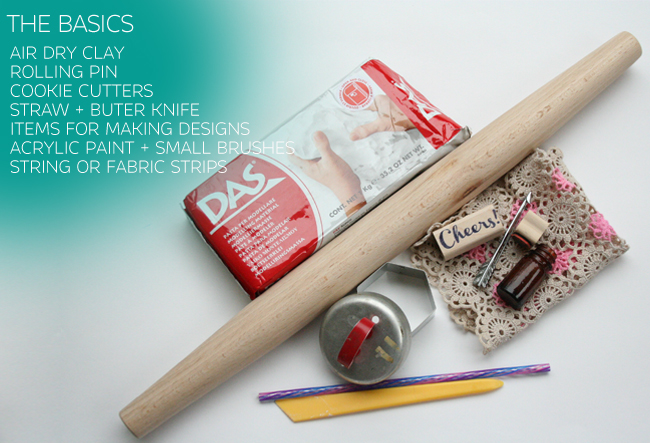
What You Need:
* Das Air Dry clay or Oven Bake clay
* Rolling pin (or glass bottle)
* Cookie cutters, can, jar, or other object for creating shapes
* Rubber stamps, scrap fabric, doily, and/or other materials for creating patterns/design
* Straw for creating a hole

Materials For Decorating:
* Acrylic paints, glitter paint or spray paint
* Small brushes and foam brushes
* Ribbon, String or Fabric Scraps
Step 1. Create a ball with your clay and condition it a bit until it’s pliable and smooth.
Step 2. Use your rolling pin to roll out your clay while trying to keep the thickness even ( about ¼ inch thick). You can put the ball between two pieces of parchment paper to avoid any sticking, but I just went for it and didn’t really have any problems.
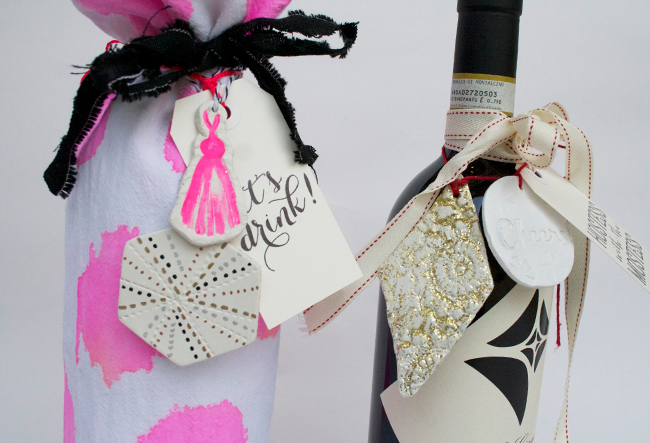
Step 3. Press your cookie cutter (or circular object like a can) down on the clay and twist a few times to cut out your shapes. If you have stamps or an object (like the arrow pendant shown here) you can press those in and then use the impression as a guide for trimming with a butter knife.
Step 4. Use a straw to punch out a hole for stringing your ornament.
Step 5. Create designs in the clay. For the rubber stamps, first blot on a wet rag to help prevent the stamp from sticking to the clay, and make sure the stamp is clean. Then, gently press into your cut-out shape to create fun designs. You can also create patterns with your butter knife, clay tools, or by making an impression with a doily or piece of fabric.
Step 6. Let air dry or bake, depending on the clay you’re using. I simply laid mine on parchment and let dry overnight, but a cooling rack would help with air circulation.
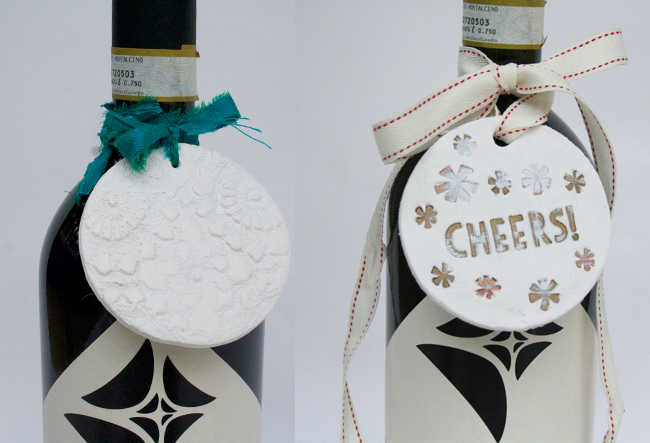
Step 7. Once dry, you can sand down the edges using smooth fine grit sandpaper, if necessary. Some of the designs may look good as is and not need any extra painting, others you may want to paint white or add colored paint or glitter. The metallic sharpies were excellent for creating quick detailed little patterns. You could also work with a gold leaf pen or glitter paint.
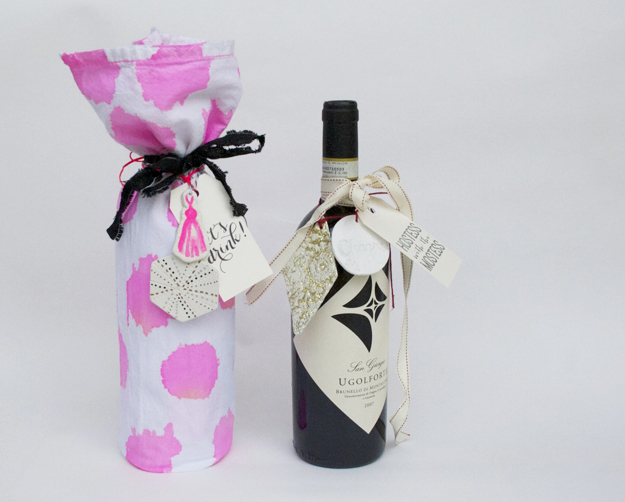
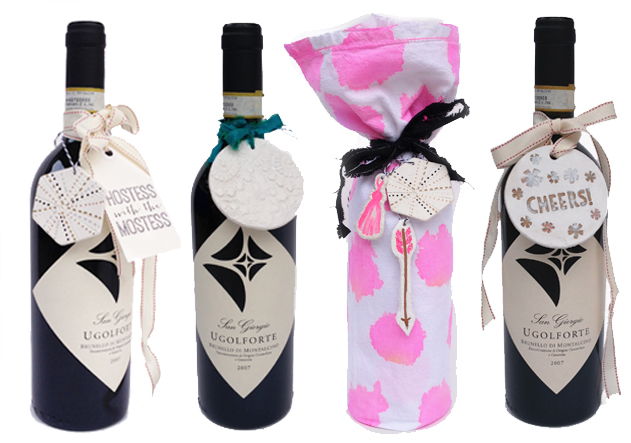
This season is full of parties and gift giving opportunities—these little ornaments are the perfect gift topper and nice addition to a present for the party host.
Notes:
* I’ve used both the air-dry and the oven bake clay and personally prefer the air-dry. The baked that I used had a more plastic feel, whereas the air felt more clay like.
* Make sure your work area, hands and tools are clean. Little fuzzies will find their way into the clay!
* Now that I’m a bit addicted, I plan to create more projects and look into glazes and varnish.
Brandy Schuman blogs at A Sensible Habit. She also does printmaking and has an online shop currently carrying stationery, wedding-related items and custom stamps—check it out!